
Mushrooms Spawn for Sale: How to Choose and Calculate
You've got straw soaking, a clean tub ready, and three tabs open for mushrooms spawn for sale, all showing white grain bags that look identical. One is cheaper, one ships faster, and none of them tells you what you'll do if the bag arrives sour, patchy, or wet enough to pool in the corners. That uncertainty is where most first grows are lost, before the substrate is even mixed.
Spawn isn't seed in the garden sense. It's a living culture that's already growing, already aging, and already vulnerable to heat, rough shipping, and poor storage. Buy it like you would anything alive. Check the batch, match it to your species and substrate, calculate enough to cover the job, and know in advance how you'll separate a defective bag from a mistake you made after opening it.
Which Spawn Type Fits Your Grow
A first grow can go wrong even when the spawn looks healthy at a glance. For oysters on straw, grain spawn is often a practical starting choice: it mixes through the substrate easily, and visible colonization gives you signs to monitor. That convenience is a trade-off, not a guarantee. A familiar grain or faster-looking growth does not make a bag safer if it is wet, sour, or contaminated.
Spawn is an inoculum used to introduce mushroom mycelium into a substrate. It commonly arrives as colonized grain or colonized sawdust. Liquid culture is a separate inoculum form, a culture suspended in liquid, usually used to inoculate grain jars or other media. The substrate supplies the food and structure for fruiting; spawn carries the strain into it.
Why Grain Became the Standard
Spawn production moved from inconsistent manure-based methods, including early mill-track spawn, toward standardized grain technology. Penn State's history of grain spawn development describes the development of cereal grain inoculated with a pure culture. Grain became a standard because it can be prepared in a consistent form and distributed through substrate.
That history helps explain what a seller is charging for. The grain itself may be millet, rye, wheat, or popcorn, but preparation matters: it must be cooked, sterilized, cooled, and inoculated without introducing competing organisms. A clean-looking bag is not proof of quality. Check the grain's condition and smell when it arrives, and follow the seller's storage and use guidance.
Spawn types compared for home and small-scale grows
Spawn type | Best for | Beginner fit | Main risk |
|---|---|---|---|
Grain spawn | Oyster and other gourmet species on straw, pasteurized or supplemented substrates | Easiest starting point | Wet spots, sour smell, damaged kernels |
Sawdust spawn | Hardwood sawdust blocks and outdoor beds where a slower, sturdier colonizer suits | Moderate; needs a species matched to the wood | Slow start that hides early problems |
Liquid culture | Inoculating your own grain jars or testing genetics in small batches | Moderate; requires sterile syringe technique | Contamination spreads fast if handled in open air |
Matching Type to Species
Oyster species are adaptable and commonly suit grain spawn mixed into straw or a prepared substrate. Shiitake and other hardwood specialists are generally paired with sawdust spawn, which suits wood-based blocks and logs. Lion's mane and other specialty species may fit either pattern depending on the strain and substrate, so check the strain information instead of assuming one spawn type works for every setup.
Liquid culture suits growers who can inoculate jars with sterile technique and want to test genetics in small batches. It may be convenient for that job, but it is not automatically the lower-risk option. If the syringe or workspace is contaminated, the culture can carry that contamination into the jars. For a beginner, a ready-to-use bag of grain or sawdust spawn may be easier to handle, provided the bag is sound and suited to the planned substrate.
If you are comparing organic grain with conventional listings, review how organic mushroom spawn is prepared. Compare the production method and the species-substrate match, not just the grain named on the label. Choose the type that fits your actual growing material and technique, rather than buying the quickest-colonizing or most familiar option by default.
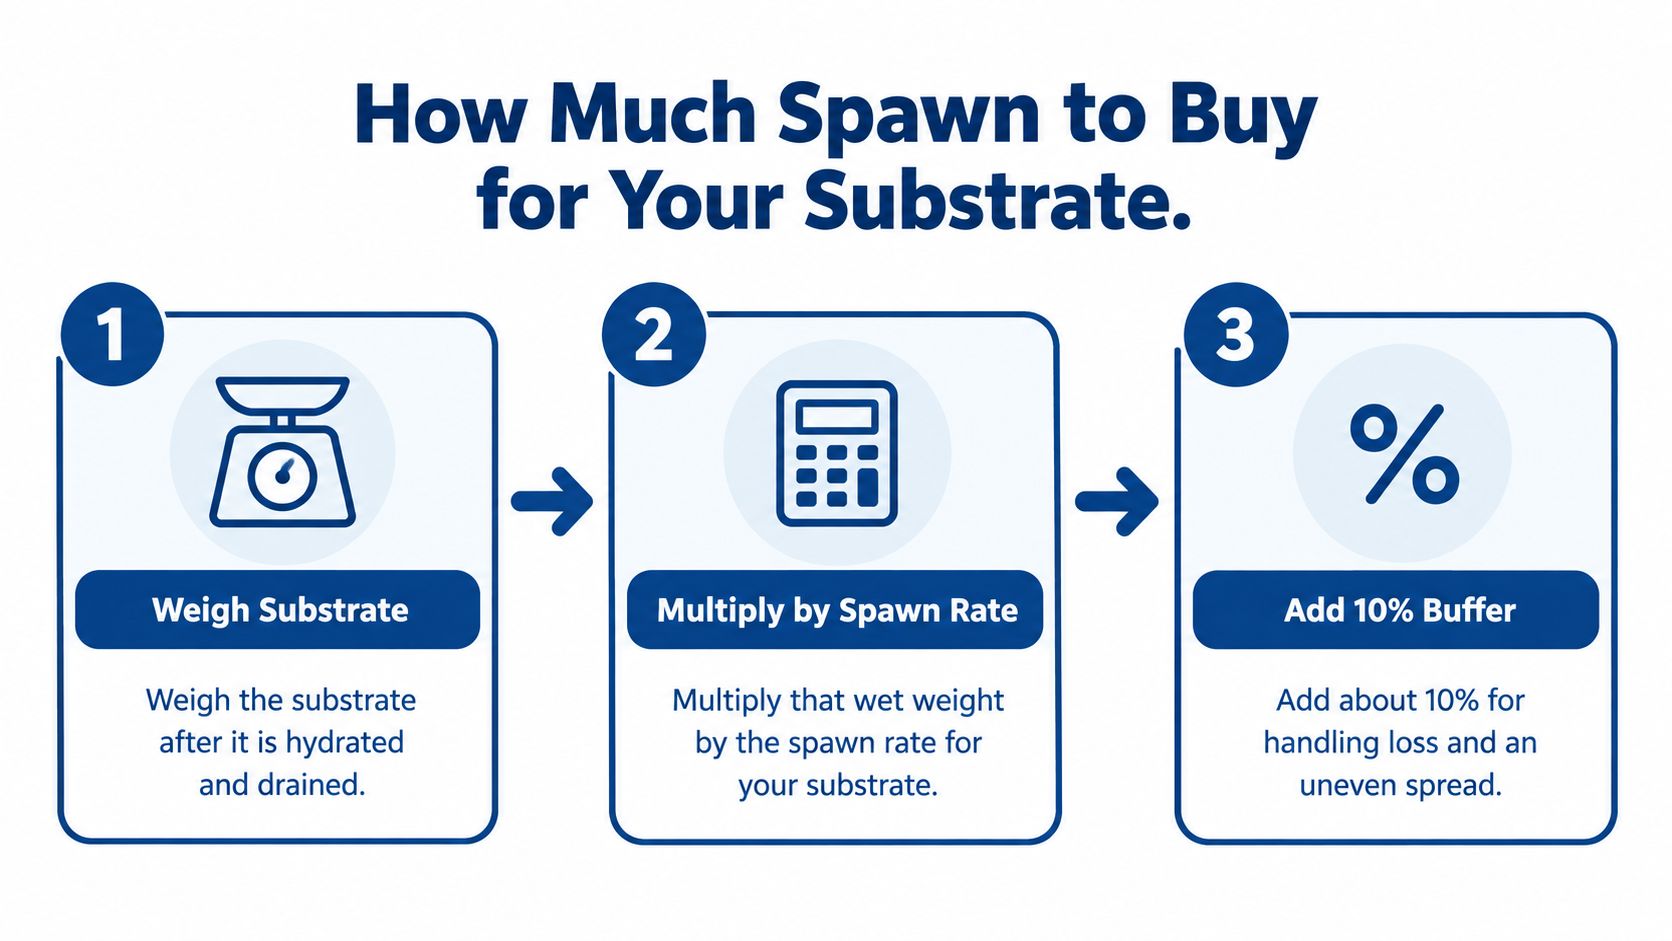
How Much Spawn to Buy for Your Substrate
You have hydrated a batch of straw, but the spawn bag you ordered looks smaller than expected. Check the wet substrate weight and calculate the amount before you mix. Dry straw, sawdust, and coffee grounds gain weight during hydration, so a ratio based on the dry package can leave you short. A careful calculation also helps avoid paying for a second bag in a rush.
The Calculation
Weigh the substrate after hydration and draining. Let excess water run off first. Pooled water adds weight without adding usable substrate and can create contamination problems.
Multiply the wet weight by the rate you plan to use. For example, a 5 kg batch at a 10% spawn rate takes 500 g of spawn.
Allow for handling loss and uneven mixing. Grain can stick to gloves, tubs, and bag corners, leaving less available for the substrate.
Check the actual bag weight before ordering. Sellers offer different sizes, and a product photo may not show whether one bag covers your batch.
Use a mushroom substrate calculator to check batch amounts after doing the arithmetic yourself. That makes it easier to spot a mistake when adjusting the batch size.
Spawn rate and example spawn amount by substrate
Substrate | Spawn rate (wet weight) | Spawn for 5 kg substrate | Notes |
|---|---|---|---|
Pasteurized straw | 10% | 500 g | Common starting point for oyster species |
Hardwood sawdust, supplemented | 10-15% | 500-750 g | Higher rate can help a slow colonizer |
Coffee grounds | 10-20% | 500 g-1 kg | Colonizes fast; watch moisture and contamination |
Outdoor logs or beds | Counted by plug or hole | Count holes, not weight | Plug or dowel spawn is counted by hole, not weight |
Why More Is Not Always Safer
Treat these rates as working rules, not guarantees. The research on spawn rate and substrate outcomes discusses spawn rate in relation to substrate outcomes. It does not establish one rate that suits every species, substrate, or growing setup.
Substrate choice also affects contamination risk, so a familiar or nutrient-rich material is not automatically the safer option for a first grow. A substrate that colonizes quickly may still be a poor match for your species or preparation method. The PDF's findings should not be treated as a direct prediction for a small home grow bag.
More spawn can't rescue a poorly matched or poorly prepared substrate. It can only give a well prepared one a stronger start.
A higher rate may make sense for a slow-colonizing species, supplemented substrate, or a workspace that is difficult to keep clean. It is not a fix for soggy material, inadequate pasteurization, or an unsuitable substrate pairing. If a batch stalls or contaminates, check those factors before assuming the spawn bag was bad. A weak or poorly handled living product can be part of the problem, but increasing the amount does not correct poor preparation. Keep notes on your own batches, including substrate weight, spawn amount, and results, so you can adjust the next mix based on what worked.
Confirm Legal Rules and Order Safely
Check legality before you compare strains. Adults 21 and older are the intended buyers for these products, and mushroom cultivation and spawn rules differ by state and country. Gourmet species are treated differently from psilocybin producing species, which many places restrict even for growing, so don't assume a seller's willingness to ship answers the legal question for your address.
Colorado Cultures positions its products for research and lawful use, which puts the responsibility on you to confirm local rules and keep purchase records. Buying spawn for personal use also isn't a license to sell grown mushrooms. Selling the harvest can require separate permits, market paperwork, or food handling compliance that has nothing to do with the spawn purchase itself.
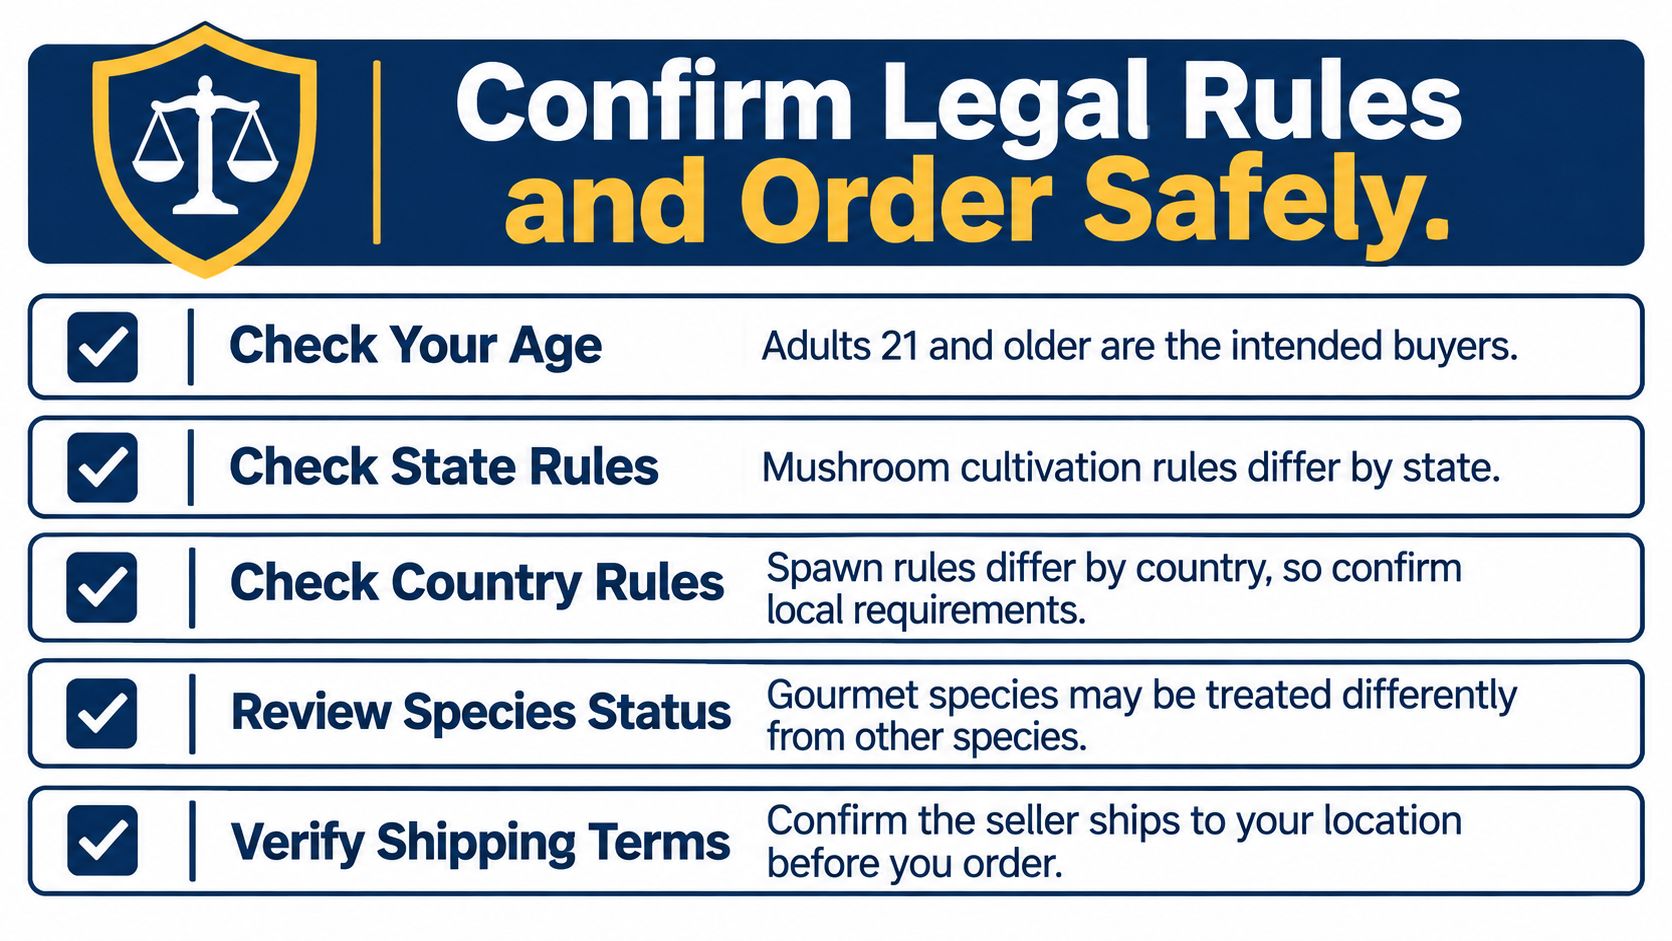
Pre-Order Checklist
Confirm species and strain. Get the exact strain or genetic line name, not just oyster or shiitake, because colonization and fruiting needs vary within a species.
Ask for the production or packing date and lot number. A seller who can't provide batch information can't help you trace a problem later.
Ask how grain is sterilized and packed. Filter-patch bags and a clear sterilization process are basic quality signals, not bonus features.
Check summer packaging. Ask about insulated packaging and cold packs, especially if the parcel crosses hot states.
Avoid hot weekend delays. Don't place an order that will sit in a warehouse or mailbox over a hot weekend if you can time it better.
Ask the replacement policy before you need it. Confirm required documentation, typically photos, batch number, inoculation date, and storage conditions.
Denver area buyers have an advantage local pickup shoppers often forget to use. You can visit the Lakewood or Englewood storefronts to ask about batch dates, see packaging firsthand, and hear how staff expect you to document a failed bag. That conversation is worth more than a small discount from an anonymous listing.
Deals can lower the cost of core products, and there's nothing wrong with timing a purchase around one. The cheapest bag still isn't worth it if the batch date is unclear or the replacement terms are vague. Clear fridge space first, schedule delivery for a mild weather day when you're home, and refrigerate the bag right away. Then place the order.
Storage Times and Handling Before Planting
Storage is where good spawn slowly becomes marginal spawn. A bag can leave the seller in strong condition and lose vigor on a sunny porch, in a hot car, or at the back of a warm pantry while you wait for a free weekend. Plan storage before delivery, not after the box lands.
Storage conditions and shelf life by spawn type
Spawn type | Storage | Use within | Before you open |
|---|---|---|---|
Grain spawn | Refrigerated, sealed, away from heat | 2-4 weeks | Warm to room temperature to limit condensation |
Sawdust spawn | Cool, dark, dry place; refrigerate if warmer than room temperature | 2-3 months | Check for drying, odor and off-colors |
Liquid culture | Refrigerated, sealed | 3-6 months | Inspect for fuzz, off-colors and unusual smell |
Handling Sequence
Refrigerate grain spawn and liquid culture as soon as they arrive. Don't leave them in the shipping box while you finish other errands.
Write the arrival date on the bag. Packing dates, order dates, and arrival dates blur together after a week, and your notes matter if you later question quality.
Let sealed spawn reach room temperature before opening. Cold grain opened into warm room air collects condensation, and free moisture works against you.
Open only in a clean area when you're ready to use it. A quick look inside days before planting exposes the culture for no benefit.
Use oldest bags first. Rotate stock the way you'd rotate any perishable, especially if you bought several strains at once.
Denver's dry air matters less inside a sealed bag than people expect. The bigger local risk is heat during the last mile, a parcel left in a hot car after pickup or on a sunny porch in July. Bring it inside, get it cold, and keep it sealed.
Freezing isn't a standard storage method for grain spawn, so ask the seller before trying it as a way to extend shelf life. Guessing here can kill the very culture you're trying to preserve.
Practical rule: If a bag has been stored longer than its listed window, run a small test batch before committing a full substrate.
That test costs you a little straw and time. Skipping it can cost you the whole batch and leave you unsure whether the spawn, the substrate, or your process failed.
How to Inspect Spawn When It Arrives
Inspect every bag at the kitchen table before it goes into the fridge and before planting day. Five minutes here creates the record that protects you later, and it keeps a contaminated bag out of your substrate, your grow space, and your next batch. Don't open the bag to do this check.
The photo below shows the handling position you want, gloved hands, sealed bag, and enough light to read color and moisture through the plastic.
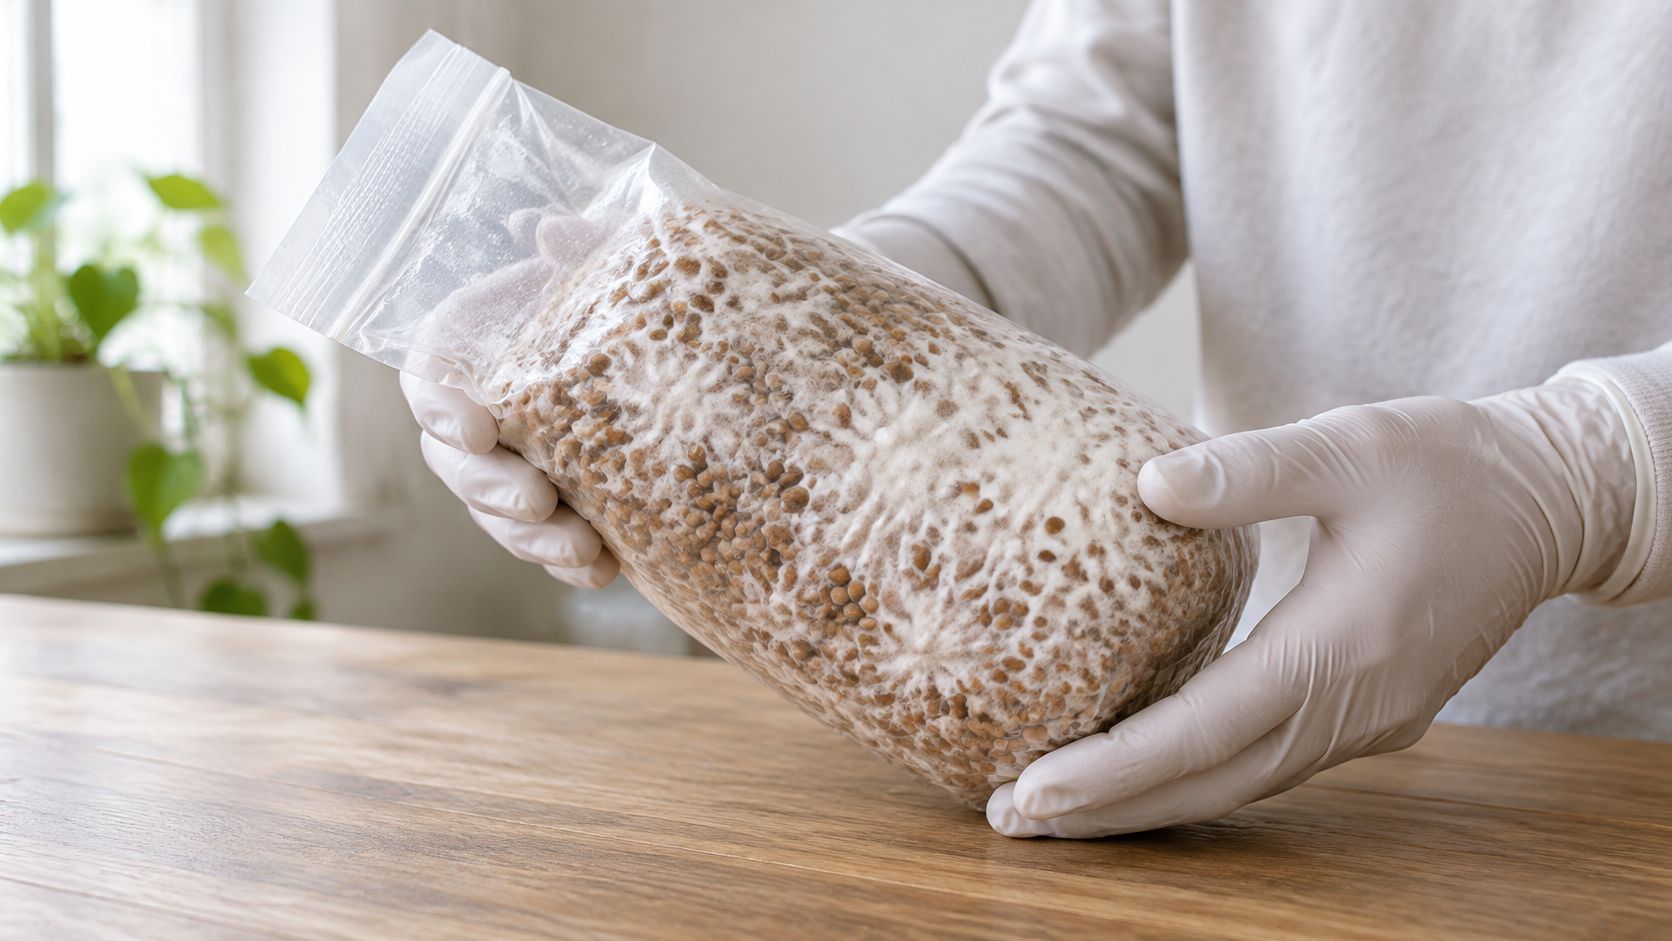
The Five Minute Check
Look at the seal and bag. Reject leaks, torn filter patches, persistent pooling, or heavy condensation that doesn't match a cold bag warming up.
Check color across the whole bag. Healthy spawn shows thick white mycelium spread through the grain, while green, black, gray, or pink patches mean stop.
Smell the outside and filter area. A sour, foul, or sharp odor means reject, even if the white growth looks strong in places.
Feel the kernels through the bag. Slimy or split kernels suggest nutrient leakage and a higher contamination risk.
Judge evenness, not just intensity. Uniform colonization is a better sign than a few dense white patches surrounded by bare, wet grain.
Record everything with dated photos. Photograph the label, lot number, seal, and any suspect area before you use or discard the bag.
What the Moisture Numbers Mean
A reliable production workflow hydrates grain without rupturing kernels, drains surface water thoroughly, then pressure sterilizes in a filter-patch bag at approximately 250°F (121°C) and 15 psi for 120 minutes, as outlined in Utah State Extension guidance on home mushroom growing. After cooling and inoculation, incubation sits at 72-75°F (22-24°C) in a clean, dark location.
Practical spawn moisture sits broadly around 40-60%, with approximately 50% commonly used as a target in that same guidance. Higher moisture may accelerate growth, but excess free moisture raises bacterial wet spot risk, and damaged kernels leak nutrients that favor contaminants. A bag that looks wet and smells sour isn't vigorous. It's failing in a way you can detect before planting.
The short video below is useful for comparing healthy white colonization against the patchy, uneven growth that should make you pause.
Don't try to salvage contaminated spawn by scooping out the clean looking portion. Don't open a suspect bag in your main living space to investigate it either. Bags you reject at intake are discarded using the same photo and batch number record you'll use for seller follow up. A different triage applies later only to bags that colonized substrate and then turned during the grow.
First Grow Steps From Spawn to Fruit
A grow bag can stall for two very different reasons: the spawn arrived weak or contaminated, or handling during planting introduced contaminants. Keep the work clean and track when changes appear. That record helps you avoid blaming the wrong step.
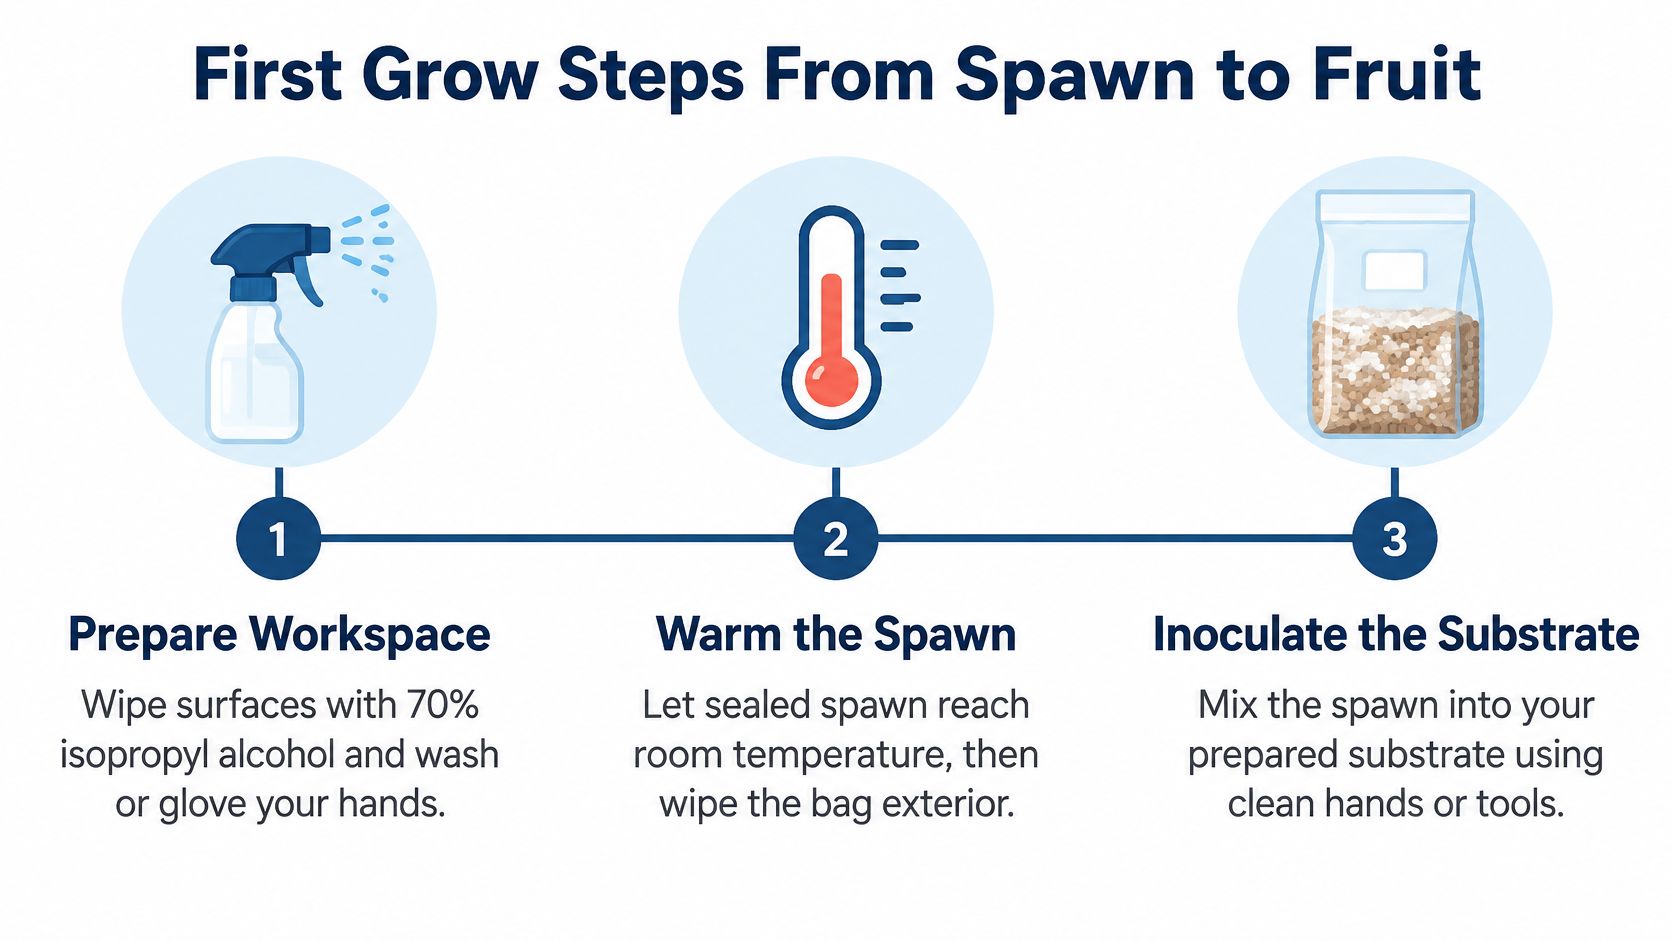
Procedure
Prepare a clean workspace. Wipe surfaces with 70% isopropyl alcohol and wash your hands or wear clean gloves. Opening spawn exposes nutrient-rich material to room air, so keep the work area uncluttered and make each step deliberate.
Warm and wipe the sealed spawn bag. Let it reach room temperature while sealed, then wipe the outside before opening. This reduces the chance of carrying surface debris across the cut.
Mix spawn in thin layers. Alternate substrate and spawn so mycelium has multiple starting points. One dense pocket can colonize unevenly, especially if the substrate is packed tightly.
Seal and incubate. Keep the grow bag in a clean, dark place at 72-75°F (22-24°C). Avoid opening it to check progress; use the bag's clear sides to monitor colonization.
Break and shake at the right moment. When the substrate is about 30-50% colonized, break up and redistribute the spawn. Skip this step if colonization is under 20%, looks weak, or shows contamination.
Move to fruiting conditions. Once the block is fully colonized, provide the humidity and fresh-air exchange required by your species.
With a prepared bag system, follow the sequence in the mushroom grow bag instructions for home use. Combining steps from different methods can leave gaps, such as opening a bag at the wrong stage or changing its air exposure before colonization is complete.
Timing depends on species, strain, substrate, spawn rate, and room temperature. Treat a seller's timeline as a guide rather than a deadline. A slower bag that remains evenly white and clean-smelling is a better sign than a fast one developing wet pockets or sharp odors. Faster colonization does not automatically mean better spawn or a safer substrate.
Bad Bag or Technique Mistake
Spawn is a living product, and planting is a point where contamination can take hold. Common contaminants such as Trichoderma and Aspergillus are a major risk when sterile technique is weak, as discussed in research on contamination during mushroom spawning. Their presence does not, by itself, prove that the grower caused the problem.
Look at when and where the change began. Off-colors visible before opening, a sour odor on arrival, or similar failures across separately handled bags can point to compromised spawn. Contamination that begins at the opening cut, follows a messy mixing session, or appears only in bags opened repeatedly makes handling a more likely cause. Keep the bag sealed while you assess it.
Isolate first. Move a suspect colonizing bag away from clean work, and do not open it indoors. Opening it can spread spores into future batches.
Discard when growth spreads. Expanding off-colors, slime, or foul odor are signs to stop trying to save the bag. Healthy mycelium will not reliably outrun spreading contamination.
Report with records. Send photos, the lot number, inoculation date, and storage conditions. Clear records help the seller assess the batch fairly.
For Colorado beginners, record shipping and household conditions too. Note porch heat, fridge storage, incubation temperature, and how clean the workspace was. Those details can help separate a handling mistake from spawn that arrived compromised, and support a replacement request when appropriate.
Judge the failure by when it appeared, where it started, and whether it spread. Those details are more useful than assigning blame.
Treat this triage as part of buying mushrooms spawn for sale. A seller with batch tracing and clear documentation expectations gives you a way to learn from a failed bag instead of repeating the same mistake.
If you're ready to buy spawn with batch information you can ask about, start with sterilized grain, substrates, and grow bags suited to your species and first batch size. Ask about strain choice, spawn rate, storage, and replacement documentation before checkout, whether you visit a Denver-area storefront or order online. Visit Colorado Cultures to choose supplies for a lawful first grow and get practical help before your first bag arrives.
Comments